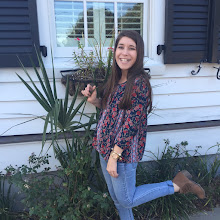
So if y'all wanted to know what our instagram looks like this is it!
Very bright and colorful and stands out!
Well lets just jump right in on how we do this!
The picture I will be editing is this one I took (btw all out our pictures on our instagram are our own) behind my friends when we were riding bikes.
This is the before and after!! BIG DIFFERENCE RIGHT!!
Well guess what WE ONLY USE ONE APP!
AVAIRY
it looks like this
These are our steps to editing!
1.) crop it into a square
2.) go to the enhance tool and press the scenery button. It makes the picture
brighter and more vibrant with one button!
3.) go to the color tab and press the warmth button and turn it all the way down
4.) go to the color tab again and turn the saturation up a little bit
5.) sharpen the picture a little to make it more better quality
6.) brighten it up with the brightness tool
NOW YOU ARE DONE!!
You should now have an @thescprep worth picture to post!
I hope y'all enjoyed and don't forget to stay tuned for more posts and Follow us on Instagram
XOXO, TheSCPreps


No comments:
Post a Comment